
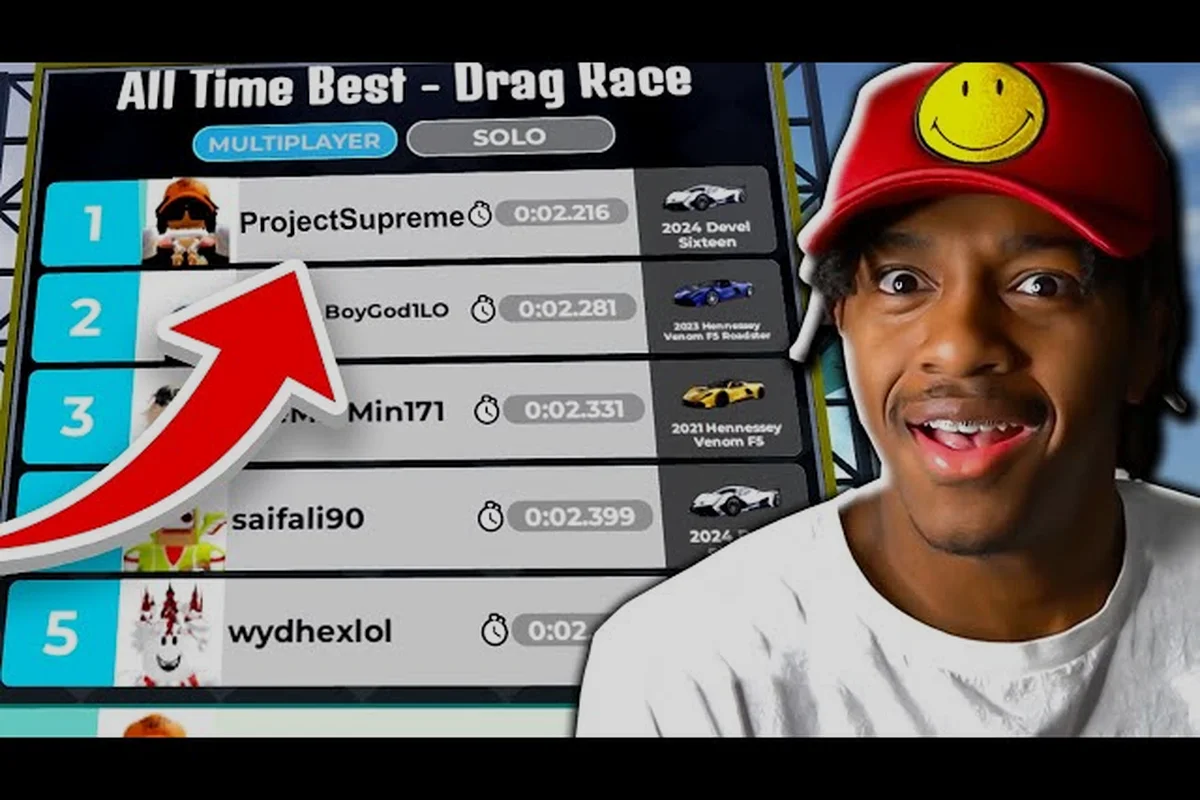
A clean pass down a Driving Empire drag racing strip is built from four small decisions, not one big one. The launch RPM, the moment you upshift, the exact line where you tap the NOS bottle, and the brake point on the street-circuit variant all stack on top of each other, so a perfect 1/4 mile drag is more about repeatable technique than raw cash. This Driving Empire drag racing guide walks through the launch, the shift pattern, the NOS trigger, and the street-circuit tweaks that turn a 0-60 lottery into a consistent win.
Voldex's licensed sim runs four core race modes, and the drag strip is the only one scored purely on 0-60 acceleration and quarter-mile time, with no cornering reads required. That sounds simple, but community testing shows the difference between a clean launch and a bogged start is roughly 0.3-0.6 seconds on most mid-tier cars, which is more than enough to flip a close race. Everything below is built around that margin.
Drag Strip Fundamentals in Driving Empire
Before chasing the perfect launch, you need to understand what the drag strip actually scores. The mode is a 1/4 mile drag guide format, meaning you launch from a staged line, hit the first 60 feet (the "60 foot" timing trap), pass through the 1/8 mile marker, and finish at the 1/4 mile. Each split is shown on the right-side timing tower, and a clean pass means every split is improving on your previous time.
What the Strip Actually Measures
| Trap | What It Tells You | Why It Matters |
|---|---|---|
| Reaction Time | How fast you let go of the line-hold after the second yellow | Free time. Bog start = lost reaction. |
| 60 Foot | Initial traction off the line | Confirms your launch RPM was right. |
| 1/8 Mile (330 ft) | Mid-range power delivery | Catches a missed upshift or early NOS tap. |
| 1/4 Mile (1320 ft) | Final trap speed and total time | The headline number on the scoreboard. |
| Elapsed Time (ET) | The single time that wins the bracket | The only stat that pays out rewards. |
According to community data gathered from public Driving Empire drag racing guide clips, the typical 1/4 mile ET range for tuned Tier 2-Tier 3 cars sits between 7.4 and 8.2 seconds in stock form, dropping to 6.8-7.5 seconds after a turbo swap, weight reduction, and grip tire tune. Anything inside the 7-second window is considered bracket-winning territory for most lobbies.
The Four Inputs You Actually Control
Drag races in Driving Empire run on a custom arcade-style timing model rather than a full physics sim like Forza, and that is exactly why the four player-driven inputs below matter so much: the game abstracts tire grip, weight transfer, and power band into a small set of tap-and-hold decisions you can repeat every run, turning the drag strip into a rhythm puzzle built around launch RPM, shift points, NOS placement, and steering correction.
-
Clutch/Launch RPM hold: how high the rev needle sits when the lights go green
-
Shift timing: the exact moment you tap the upshift key relative to the rev limiter
-
NOS trigger: where on the strip you press the NOS key
-
Steering correction: micro-corrections between shifts to keep the car dead straight
If you nail all four, the timing tower lights up green on every split. If you miss even one, the run goes red. That is the whole game inside the game, and the rest of this Driving Empire drag racing guide is built around tightening each one of those inputs.
Perfect Launch: The RPM Window and Drop Technique
The launch is where most runs are won or lost, and it is also the easiest step to practice. You do not need a tuned car or a meta build; you need a consistent launch RPM window and a clean release of the gas/hold key when the second yellow drops.
Finding Your Car's Launch Window
Not every car wants the same launch RPM. A heavy American muscle car like a tuned Camaro ZL1 wants a much higher pre-load than a lightweight Japanese tuner, because the torque curve is shaped differently. The rule of thumb that community drag strip tips keep landing on:
| Car Class | Typical Launch RPM | Why |
|---|---|---|
| Light JDM tuner (GT-R, Supra) | 3,500-4,500 RPM | High-revving, punishes over-rev with bog |
| Mid-weight Euro sport (911, Huracán) | 4,000-5,000 RPM | Balanced torque band |
| Heavy muscle (ZL1, Mustang GT) | 4,500-5,500 RPM | Needs rev to overcome inertia |
| Drag-built dedicated (purpose-built) | 5,000-6,000 RPM | Built for pre-load, slips cleanly |
The way you find your window is by staging the car, then watching the rev needle: if it sits low and the car launches soft, bump the RPM up 250-500 RPM on the next run. If the wheels spin and the nose lifts, drop 250-500 RPM. Two or three practice runs is usually enough to dial it in.
Drop Timing After the Second Yellow
This is the Driving Empire perfect launch guide part that most players get wrong. The drop timing is not "when the third green appears." It is the exact frame after the second yellow — you let go of the hold and immediately tap the gas. Trying to time the green costs reaction time; timing the second yellow gives you a free 0.1-0.2 second advantage that the timing tower credits as a perfect reaction.
The other half of the launch is keeping the car straight. Drag tires in Driving Empire are grippy enough that you should not need any steering input in the first 60 feet unless the surface is wet. If the car pulls left or right, your wheel alignment tune is off — the launch itself is correct.
Shifting Faster: The Shift Pattern and RPM Drop
Once the car is moving, the next question is how to shift faster without bogging the engine. The Driving Empire community has settled on a tight pattern: shift at the moment the rev needle hits the redline minus 200-300 RPM, never at the limiter, and release the gas for the shortest possible window between gears.
Reading the Rev Needle
The shift indicator in Driving Empire is the rev needle, not a popup. Learning to glance at the tach without taking your eyes off the strip is the skill that separates mid-pack drivers from bracket winners. The general rule:
-
Shift up when the needle enters the upper 1/4 of the tach
-
Never let it pin to the redline — the cut-off in Driving Empire is a hard limiter that costs ~0.05-0.08 seconds per missed shift
-
For downshifts (only needed on street circuits, not drag strips), match RPM by tapping the downshift just as the needle climbs into the powerband
On a 6-speed car, a clean pass involves 3-4 upshifts between the launch and the 1/4 mile marker. Each one should take roughly 0.15 seconds from peak rev to next gear engaged. If you feel a long pause between gears, you held the upshift too long and the engine bogged.
The 0.1-Second Tap Pattern
The fastest way to upshift in Driving Empire is to tap, not hold, the upshift key. Holding causes the gearbox to register a single, sluggish gear change near redline, wasting roughly 0.1–0.2 seconds per shift; tapping instead fires the input in under 50 milliseconds, so the transmission grabs the next ratio before torque falls off. In Roblox Driving Empire drag timing tests, a held upshift routinely produces ETs around 4.8–5.0 seconds, while a tapped upshift on the same tune and Supra / Silvia build drops that to the 4.4–4.6 range — a full tenth of a second gained purely from finger discipline at the upshift key.
-
Needle enters redline-adjacent zone
-
Quick tap of upshift key
-
Immediate tap of gas
-
Wait for next gear to seat (about 0.15 sec)
-
Repeat until the 1/4 mile marker
This is the part of the Driving Empire how to shift faster learning curve that feels unnatural at first — most new players hold the upshift key. The moment you switch to tapping, your ET drops immediately because the engine never falls out of the powerband. If you want a deeper look at perfecting the rhythm on a per-car basis, the Driving Empire best tune for drag breakdown covers how gearing changes the shift points.
NOS Trigger Placement and Timing
NOS in Driving Empire is not a "press it as soon as you launch" button. It is a bottle with a specific volume, and the trigger placement is the difference between using all of it before the finish line (waste) and running out mid-strip (waste in the other direction). The community-tested sweet spot is somewhere between the 60-foot and 1/8 mile marker, depending on your gear count and tune.
The Three NOS Trigger Zones
| Trigger Zone | Best For | Risk |
|---|---|---|
| Launch / 60 foot | Heavy muscle, low gear count | Wastes NOS before top-end |
| 1/8 mile / 3rd-4th gear | Tuned JDM, mid-weight cars | Sweet spot for most builds |
| Past 1/8 mile | Top-speed dedicated builds | Too late if you're behind |
The most common mistake is launching on NOS. The launch already has grip and rev to work with; throwing NOS at it just makes the wheels spin and the nose lift, costing you the 60-foot trap. Hold the bottle until the car is in 3rd or 4th gear and the rev needle is sitting in the meat of the powerband. That is when the extra air pays off.
If you are running a 5 or 6-speed car, you generally want to tap NOS immediately after the 2nd or 3rd upshift so the bottle runs out near the 1/4 mile marker. If the bottle empties before the trap, you launched too early. If it is still pushing past the trap, you are leaving time on the table. Drivers who are also working on broader launch consistency find it useful to revisit the Driving Empire how to win drag races walkthrough alongside this one.
Street Circuit vs Drag Strip: Reading the Two Modes
Driving Empire offers both a pure drag strip and a street circuit mode that mixes drag-style straightaways with braking zones and corners. The Driving Empire street race guide side of the equation is fundamentally different: the launch matters less, and brake-point discipline matters more. The car that wins a street circuit is rarely the car that wins a 1/4 mile drag.
Players can access the game directly through the Driving Empire on Roblox, where the drag racing mode is hosted alongside the broader open-world driving experience, and tuning builds around the drag-specific nitrous and gear-ratio mechanics described above.
Where Drag and Street Diverge
| Aspect | Drag Strip | Street Circuit |
|---|---|---|
| Primary skill | Launch RPM, shift rhythm | Brake points, corner entry |
| Tire choice | Grippy drag compound | All-purpose or sport tire |
| NOS usage | One long trigger zone | Two or three short taps |
| Downshifts | Almost never | Required before slow corners |
| Steering input | Almost none | Constant micro-corrections |
On a street circuit, your NOS splits into two triggers: one exiting a slow corner onto a long straight, and a second near the end of that straight if the bottle has volume left. A single long NOS push on a circuit wastes the bottle on parts of the track where cornering is the limiter.
Brake points are the part most drivers under-train. The Driving Empire street circuit tips that show up in community testing: brake in a straight line, release the brake just before turn-in, and trail-brake into the apex. This loads the front tires and lets you rotate the car into the corner without scrubbing speed. If you are still on the brakes mid-corner, you braked too late or too soft. If the nose pushes wide, you braked too early.
For drivers who want to dig into the broader differences between the modes — including how to read the lobby, pick the right car, and use the lobby chat to your advantage — the Driving Empire multiplayer racing tips page has the mode-by-mode framing.
Building a Consistent Run: A Repeatable Practice Loop
A fast run is not a single perfect pass. It is a loop you can repeat ten times in a row, because drag racing in Driving Empire is bracket play, and brackets punish inconsistency more than they punish slow times. A driver who runs 7.4 every time beats a driver who runs 7.2 once and 7.8 the next.
The 10-Run Practice Drill
The 10-run structure below is the same framework top drag racing discords use in their newcomer channels, broken into 5 goal-pairs that isolate one skill at a time. It typically takes 18-22 minutes of lobby time and produces a measurable drop in ET variance by Run 8, giving you a clean baseline before you start tuning for the 1/4 mile pass.
| Run # | Goal | Focus |
|---|---|---|
| 1-2 | Find launch RPM | No NOS, no shifting focus — just dial the pre-load |
| 3-4 | Lock shift pattern | Tap-shift rhythm, ignore NOS timing |
| 5-6 | Add NOS trigger | Hit the 1/8 mile trigger, watch the bottle |
| 7-8 | Full clean run | Launch + shift + NOS, all four clean |
| 9-10 | Repeatability test | Two passes back to back, ET within 0.1 sec |
If your Run 9 and Run 10 are within 0.1 seconds of each other, you have a launch you can trust under pressure. If they are 0.3+ apart, the launch RPM is still drifting. Go back to the first two practice runs and find the window again.
What to Track Between Runs
The timing tower on every Driving Empire drag strip shows all four splits (60 foot, 1/8 mile ET, 1/4 mile ET, and trap speed), and a smart driver writes them down or screenshots them every pass rather than guessing by feel. The splits you actually care about:
-
60 foot trap time — the best single indicator of launch quality
-
1/8 mile ET — the best indicator of shift quality
-
1/4 mile ET — the headline number, but never tune for it directly
-
Trap speed — useful for comparing tunes, less useful for race wins
If your 60 foot improves but your 1/4 mile does not, you are launching better but losing time in shifts or NOS. If the 60 foot stays the same but the 1/4 mile drops, you are nailing the back half. Reading the splits this way turns a guess-and-check loop into a targeted fix.
Frequently Asked Questions
What is the best launch RPM for a beginner in Driving Empire?
Start at 4,000 RPM and adjust in 250-RPM steps. A light car will bog below that, while a heavy muscle car will need closer to 5,000 RPM. The two-pass test is the fastest way to dial it in: bog = too low, wheelspin = too high.
Where should I trigger NOS on a 1/4 mile drag?
Tap the NOS bottle right after your second or third upshift, generally around the 1/8 mile marker. Launching on NOS wastes the bottle and usually costs the 60-foot trap, while triggering past the 1/8 mile often runs out the bottle before the finish line.
How do I shift faster without bogging the engine?
Tap the upshift key instead of holding it, and shift when the rev needle enters the upper quarter of the tach — never at the redline. This Driving Empire how to shift faster pattern keeps the engine inside the powerband through the gear change and saves roughly 0.05 seconds per shift compared to a held upshift.
What is the main difference between drag and street circuit?
Drag is a pure 0-60 / 1/4 mile contest scored on acceleration alone, while a street circuit adds braking zones, corners, and tire management. The launch is the whole game on a drag strip; on a street circuit, brake-point discipline and cornering grip matter more than raw straight-line speed.
Do I need a tuned car to win drag races?
Not for the launch mechanics, but a tuned car widens the margin. The community-tested winning setup is turbo swap, weight reduction, grip tire compound, and a short-ratio gear tune. Without those, you can still win brackets — you just have to be cleaner on the launch and shifts than your opponent.